HOW TO ACHIEVE MAXIMUM PERFORMANCE
BY DAVID DELCOMA, PRODUCT MARKETING MANAGER, MFM BUILDING PRODUCTS CORP.
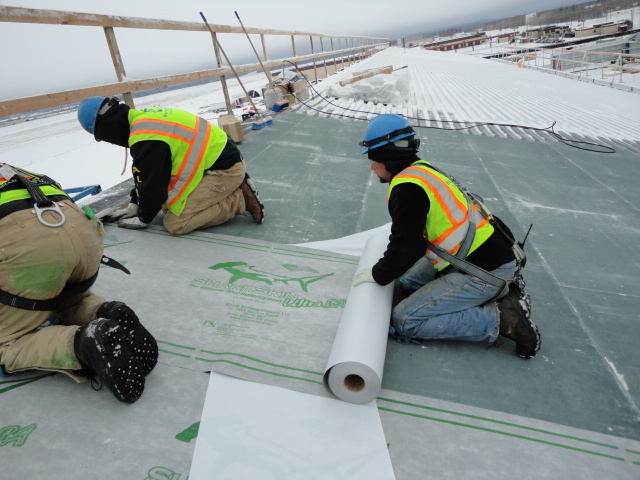
Self-adhering or “self-stick” roofing underlayments have been around for more than 30 years—protecting building structures from moisture damage caused by wind-driven rain, ice dams, or failure of the finished roofing surface. Because of their added cost versus traditional felt and synthetic underlayments that are mechanically attached, many roofing contractors don’t have experience installing self-adhering products. Most of their experience is primarily with self-adhering “ice and water” underlayments installed along the roof eave and valleys, which is code in most building locales.
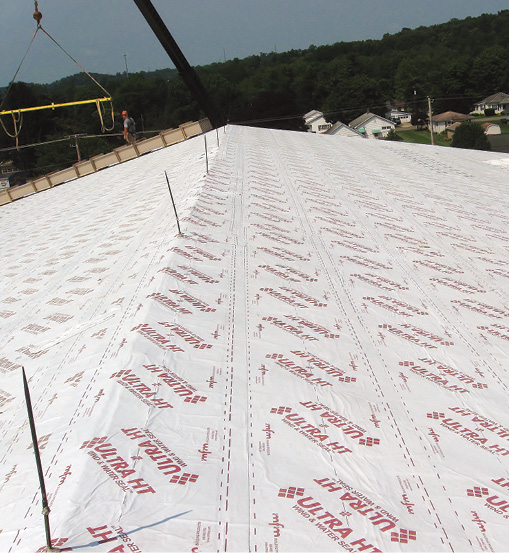
There are a number of advantages to covering the entire roof with a self-adhering underlayment, which will protect the home’s interior from unnecessary water damage before, during, and after the final roofing system is installed. The major disadvantage of mechanically attached roofing felts and newer synthetic underlayments is they can’t provide the same level of protection should water or moisture penetrate the roofing system.
Blown-off shingles, ice dams, or seam leaks on metal roofing systems allow water to get beneath the finished roof system. Self-adhered underlayments offer secondary water protection for the entire roof in the event of a roofing breach. Most of these self-adhered underlayments are also self-sealing around roofing fasteners, ensuring a fully waterproof barrier. It’s no wonder that today, there are more self-adhered products available than single-ply and built-up membranes combined.
Although self-adhered underlayments are relatively easy to install, there are several installation keys that should be followed closely to provide maximum performance once the product is installed:
• Building Codes: Know all applicable building codes, as well as the manufacturer’s recommended installation instructions, prior to the installation of any roofing underlayment. There are often minimum installation temperatures, roof pitch restrictions, and UV exposure ratings on self-adhered underlayments to ensure that the products are installed as intended.
• Product Approvals: Self-adhered underlayments can be certified or comply with industry standards to ensure their performance on the job site. Issuing bodies such as the ASTM, International Code Council (ICC), Miami-Dade County, and Florida Building Code can provide documentation of a product’s intended use and limitations. Always check to see if your roofing project and/or location requires a code-approved underlayment.
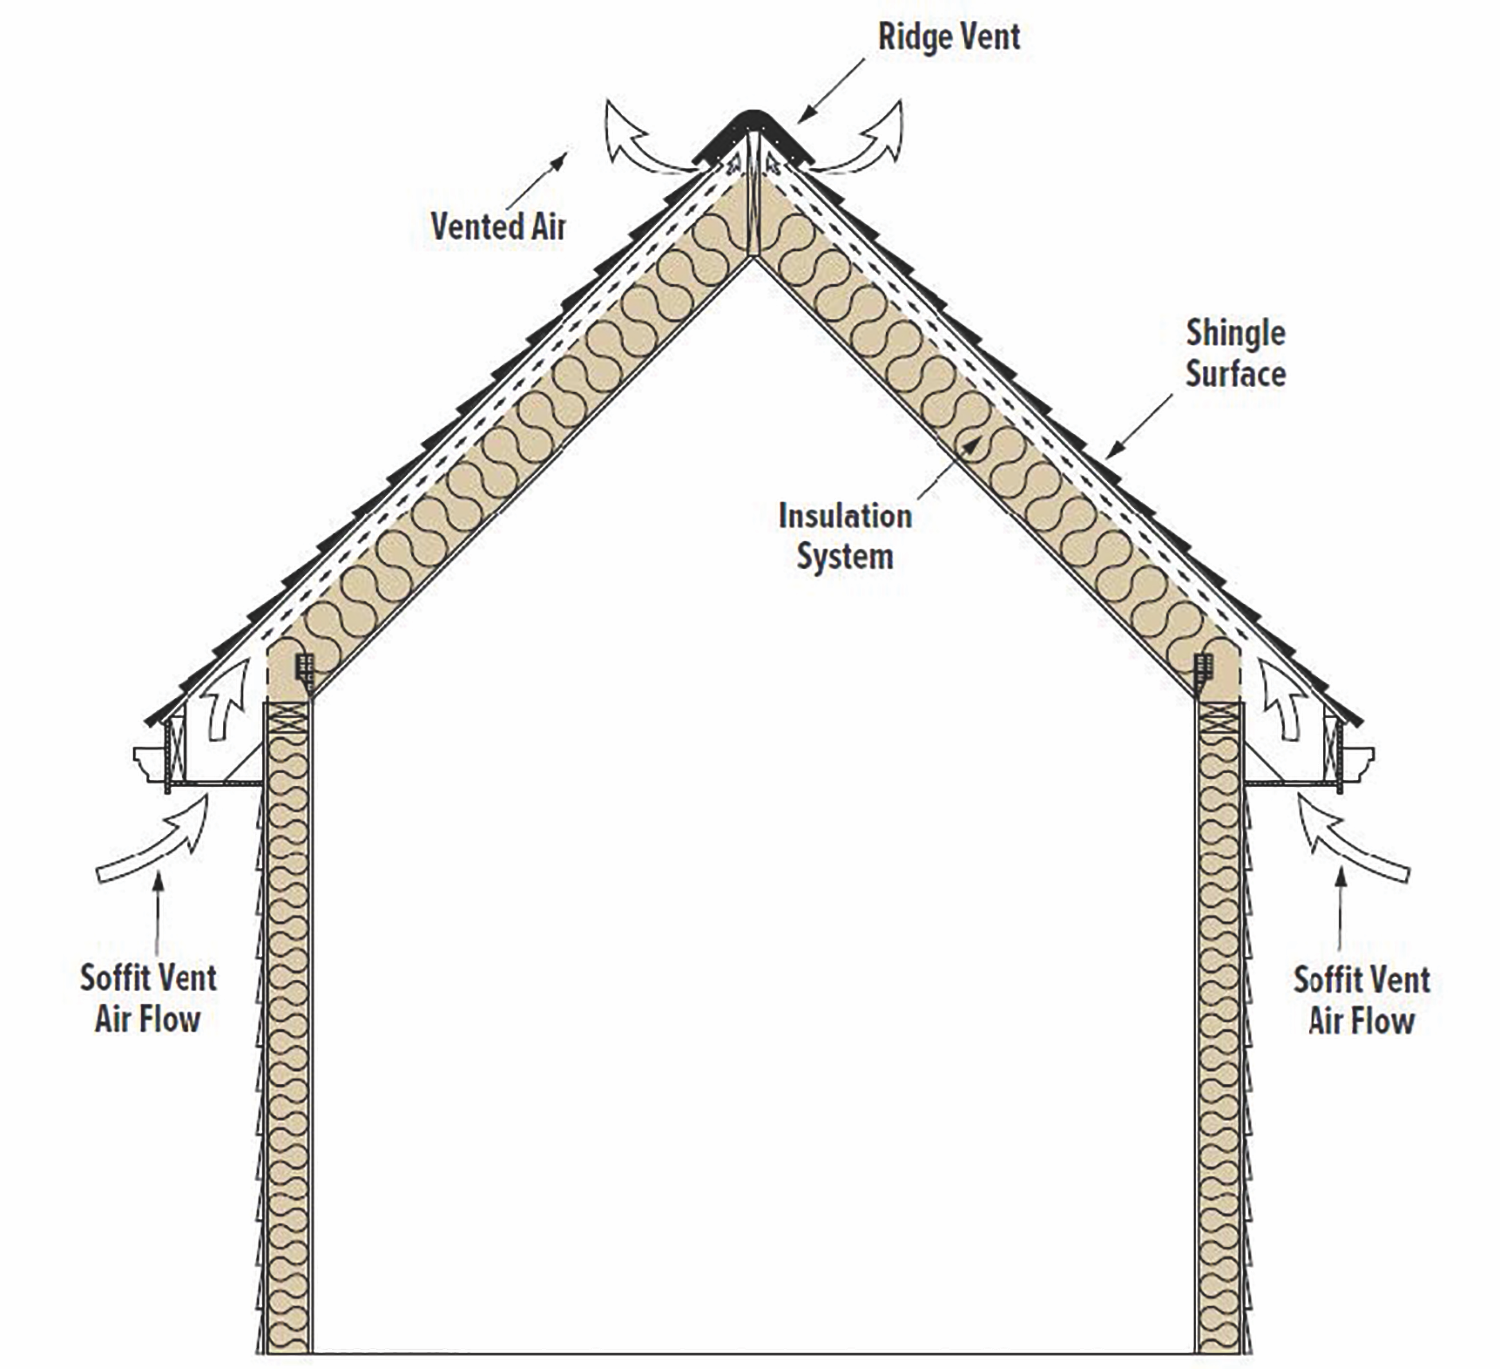
• Ventilation: Self-adhered underlayments are typically vapor barriers, which means they require proper ventilation of the roof system. Without proper ventilation, condensation can form, causing damage to the interior structure. Items such as roof or soffit vents will need to be installed to ensure the proper flow of air for the roof.
• Adhesion Is the Key: Ensure that the roofing substrate is clean, dry, and free of waxes, dirt, or debris. Dust and dirt will impair the adhesive properties of the self-adhered membrane. Weathered surfaces require the use of a primer prior to installation to provide a clean and smooth surface. Contact the underlayment manufacturer for their list of approved primers.
• Flash Penetrations: Always flash around roof penetrations such as vents, chimneys, and other protrusions. Many times, when a roof leaks, it is around these penetrations because they were not properly flashed. You can often use the underlayment itself as a flashing material or purchase specialized roof flashing tapes.
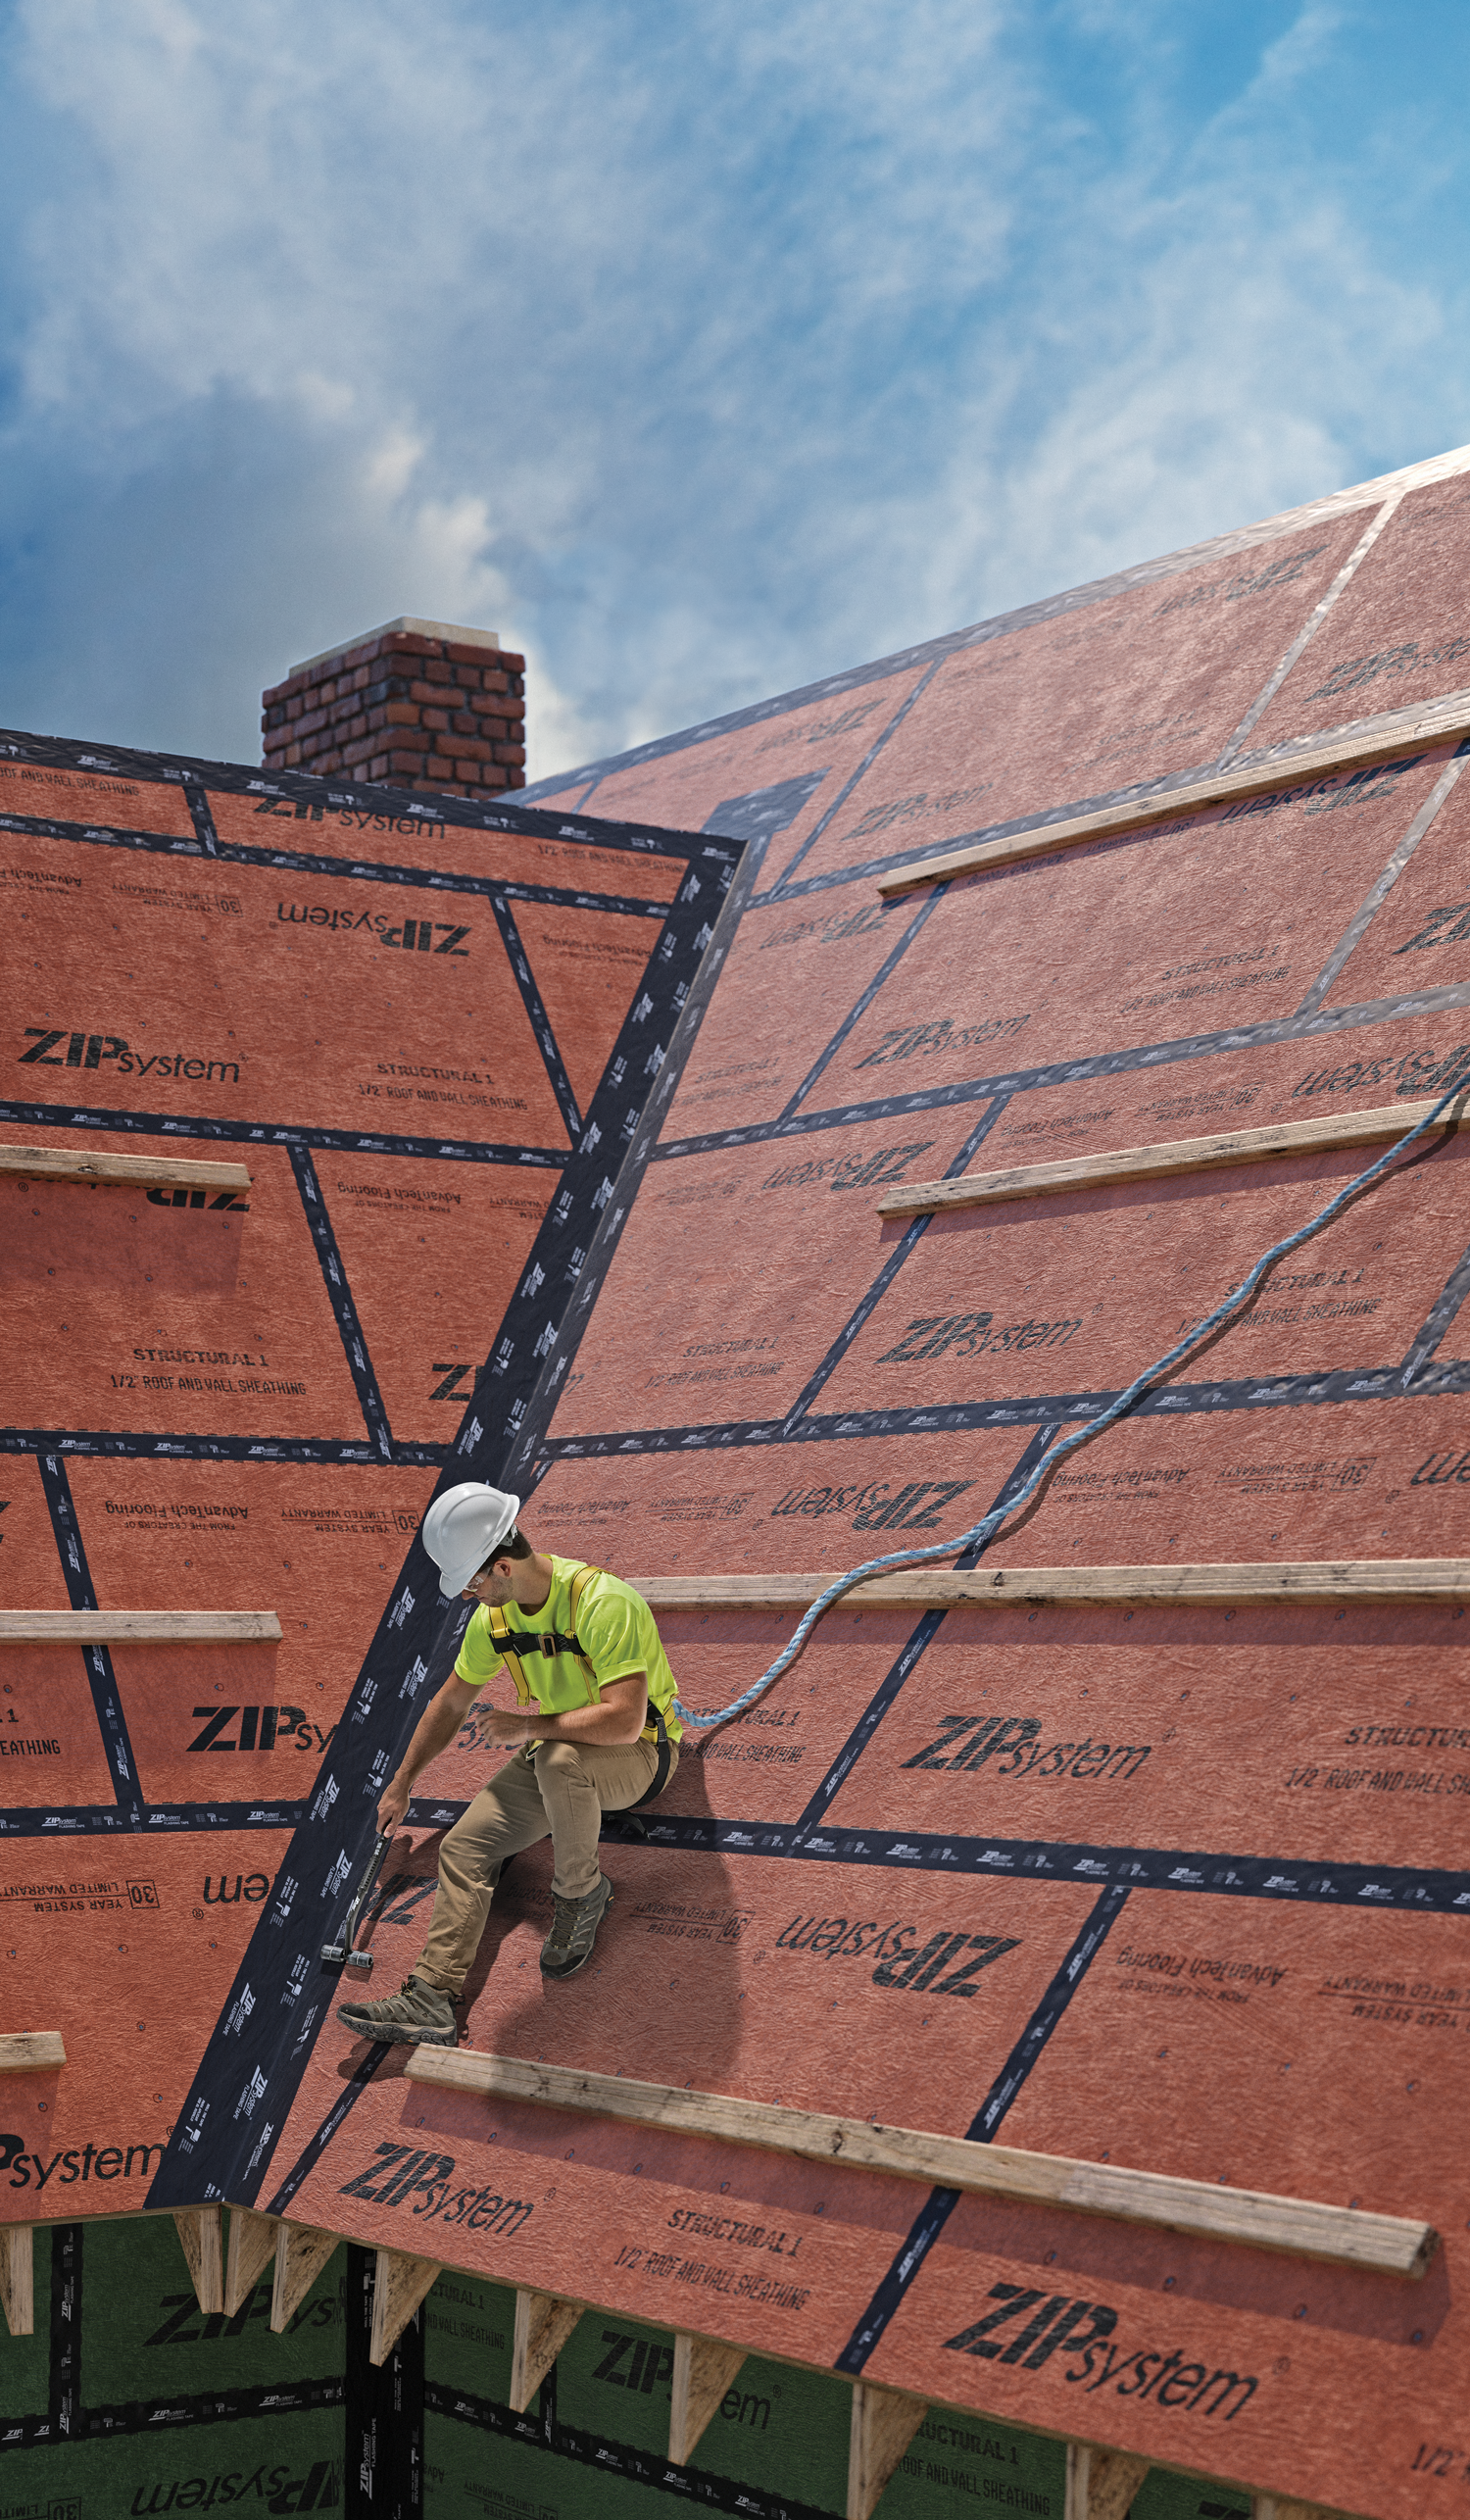
• Flashing Deck Panel Seams: This is a growing trend with roofing contractors and has also become a required code in some building locales. There are specialized products on the market designed specifically to flash the seams on plywood and OSB roof deck panels. Searching for viable products or asking the underlayment manufacturer should produce a list of suitable products.
• Eliminate Gaps: Do not use the underlayment to bridge gaps in the roofing substrate. Always use a flashing membrane or roofing tape to seal the gap, then install the underlayment.
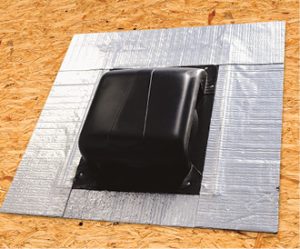
Photo courtesy of MFM building products corp.
• Caulks and Sealants: Caulks and sealants that contain plasticizers may react adversely to the adhesive system of the underlayment, which may cause the mastic to liquefy. It is the responsibility of the installer to ensure that the underlayment is compatible with any product it will come in contact with.
• Overlaps: Always start at the eave and work up toward the ridge to ensure that water will flow over all side laps, which are normally 3″ on most self-adhered products. End laps are typically recommended to have an overlap of 6″. Again, contact the underlayment manufacturer for recommended lap requirements.
• Apply Pressure: Applying sufficient pressure with a large 80 lb push or hand roller over the entire surface while paying special attention to any overlap areas is critical in establishing solid adherence to the roofing substrate.
Peace of Mind
The most important aspect of self-adhering underlayments is that when installed correctly, they can provide the roofing contractor with peace of mind and greatly reduce the number of call-backs to fix a leaking roof. Information should be readily available from the manufacturer in the form of technical data sheets, installation instructions, installation videos, and other resources.
By properly informing yourself prior to the job, you stand a much greater chance of future referrals from pleased customers.
