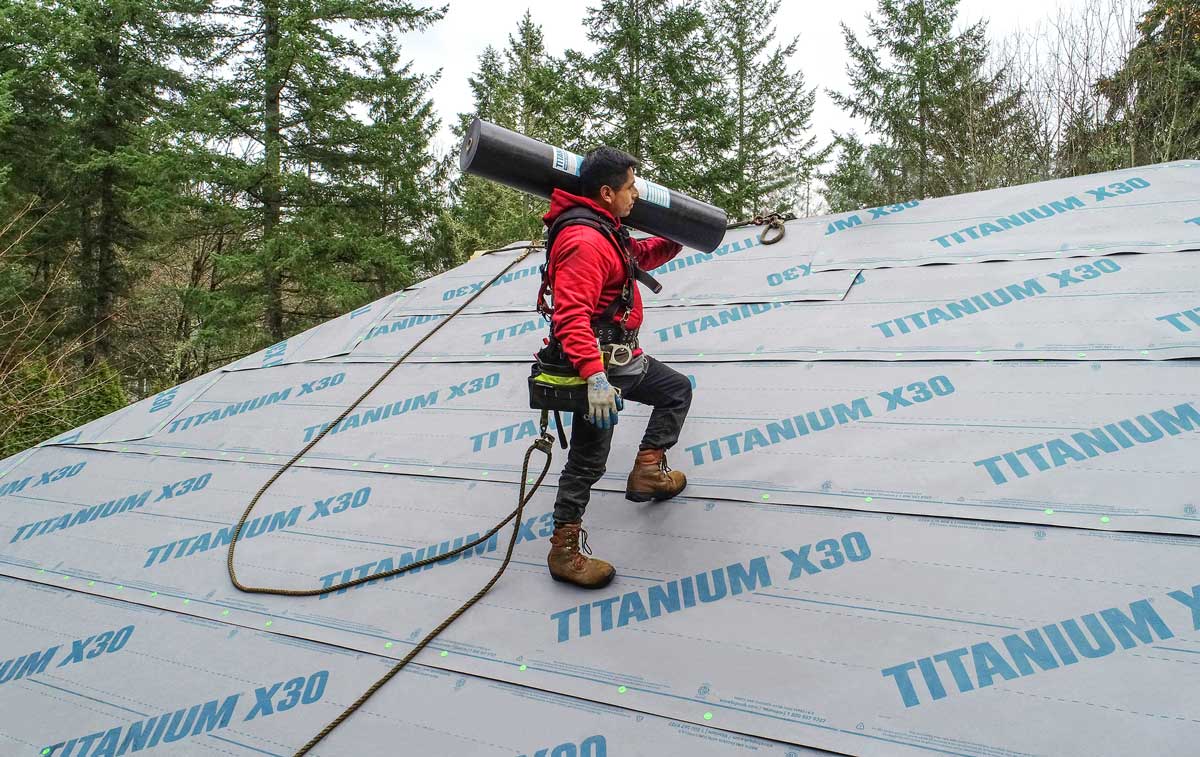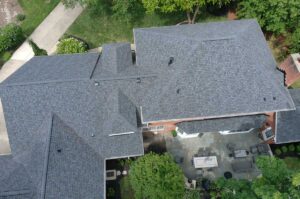
Underlayment is installed over roof decking to provide protection against water intrusion. It’s a critical component for waterproofing a roof. Self-adhered underlayments offer secondary water protection for the entire roof in the event of a roof breach. Once installed, the underlayment protects the structure before, during, and after the installation of the roofing system.
Warmer temperatures enhance the adhesion properties of the membrane, reducing the chance of encountering problems during installation. But since it can’t always be installed in optimal weather conditions, here are some practical tips and tricks for assuring self-adhesive underlayments adhere as they were designed.
In general, most self-adhering roofing underlayments state a minimum installation temperature range. This includes both the ambient air temperature and the surface temperature of the roof deck substrate. In cooler weather, when the surface temperature drops below 50°F, there is a tendency for condensation to form on the surface. The deck surface must always be free of dirt, debris, and moisture (including condensation and frost) for the membrane to properly adhere to the substrate. These things will impair the adhesive properties of the self-adhering membrane.
When the ambient air temperature is below 40°F, some products require that certain precautions be taken to assure proper adhesion. Materials should be stored in a heated area before installation, so membrane rolls and adhesives come to a minimum temperature as specified by the manufacturer prior to application.
Materials should be brought out as they are installed to keep them at the best workable temperature. (Use caution when working with the adhesive side of the underlayment so as to not let it stick to itself or other surfaces prior to installation.) Depending on the underlayment, weathered surfaces may require the use of a primer prior to underlayment installation to provide a clean and smooth surface. Contact the underlayment manufacturer for their list of approved primers.
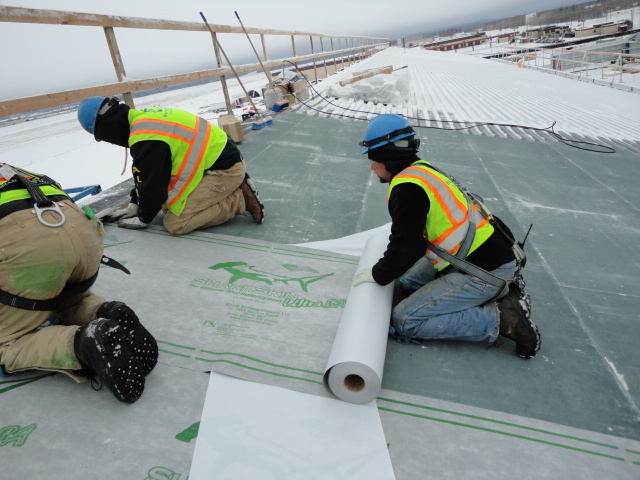
Depending on the type of roof system and the roof pitch, mechanical fastening may be necessary. (If the roof is steep enough, a batten system may be required.) Once the barrier is in place, immediately back nail every 18” in the top selvage edge to prevent slippage before the sheet adheres to the deck. Most self-adhered underlayments self-seal around fasteners to maintain a waterproof barrier; however, when back nailing, be sure that all nails are covered by the next overlapping sheet. It’s recommended that horizontal overlaps be a minimum of 3”, while vertical (end laps) should be a minimum of 6”.
If using caulks and sealants, be sure to use materials that are compatible with the adhesive on the underlayment. Plasticizers may react with the adhesive on the underlayment, which may cause the mastic to liquefy. Installers are responsible for making sure the underlayment is compatible with products with which it will come in contact.
Pressure is a good thing
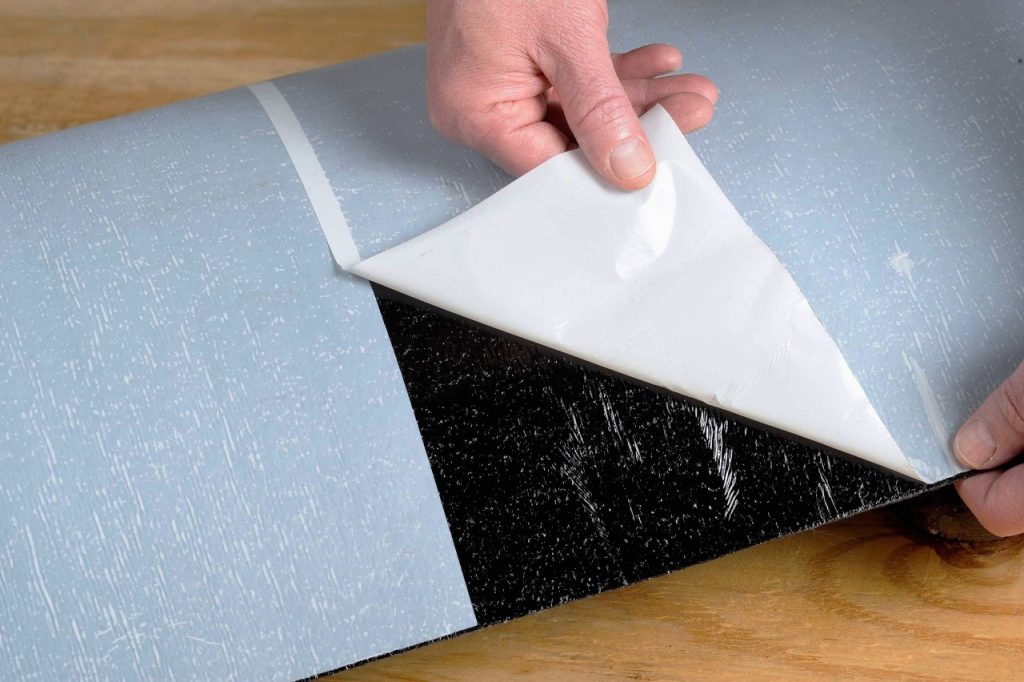
Photo courtesy of MFM Building Products.
Applying sufficient pressure is critical in establishing solid adherence to the roofing substrate. To achieve and maintain a secure bond, broom the entire surface of the underlayment from center to edge and roll with a large, heavy push or hand roller; pay special attention to all overlap areas. If necessary, a hot air gun can be used at the laps to promote adhesion.
Improper Installation
Some of the problems that can result from improper installation include sheet movement and falls. If the underlayment isn’t firmly adhered to the deck, it can move underfoot, causing a worker to slip and fall.
If the laps aren’t sealed, they can allow water and dirt to enter. If dirt or other debris enters a lap area, it may never seal. It’s always critical to start at the low point on the roof and install in a shingling manner, so overlaps run with the flow of water to avoid any backwater laps.
If the membrane is too cold during installation, it may wrinkle, which can be visible through the shingles when the roof warms up. In severe cases, the wrinkles can even compromise the water-tightness of the laps and can result in leaks.
Conclusion
When installed correctly, self-adhesive underlayments can provide the roofing contractor with peace-of-mind and greatly reduce the number of call-backs to fix a leaking roof. Detailed product information is readily available from manufactures in the form of technical data sheets, installation instructions, installation videos and other sources.