One of the most overlooked items in terms of waterproofing the roof deck is sealing roofing seams on the substrate boards of steep-slope projects. This has caught the eye of several building code agencies who have already implemented codes to seal these seams with a roof deck flashing tape.
Some general contractors, both residential and commercial, have included sealing the roof deck seams as a general practice on their projects, regardless of whether it is code or not in their locale. Insurance companies are also taking notice of this practice as a good building strategy when it comes to protecting the building structure.

Changes in state and local building codes have already been implemented and more are sure to follow. Here is an overview of how to properly seal these seams for additional waterproofing protection.
The Basics
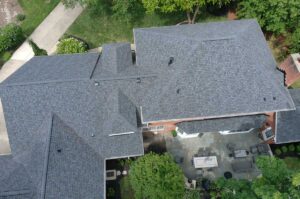
The roof deck is the structural substrate to which the final roofing system will be applied. Typically, these are wood-oriented materials such as plywood or oriented strand board (OSB). When installed, the seams between all these boards are potential leak points for water, moisture, and air to infiltrate the building structure.
Typically, if water enters these seams during construction, it does not pose any real problems. However, when the roof is completed and interior work begins, this is when a roof deck tape provides the highest value to the contractor and customer.
Membrane Types
For the locales that have adopted this code, the general rule is the use of a 4” wide, 40-mil, self-adhering waterproofing membrane that meets ASTM D 1970. In some cases, membranes that meet AAMA 711 are also accepted. You will need to investigate your building code specifics or if not code in your locale, seek a suitable flashing membrane that meets ASTM D 1970 at a minimum.
In essence, the code wants the membrane to be self-adhering and self-sealing around common roofing fasteners when the final roof system is installed. The self-sealing aspect is critical in terms of maintaining complete waterproofing protection before, during and after the roofing system has been installed.
What is typically not specified, but is a good idea, is to find a self-adhering flashing membrane that offers good foot traction. Make sure the membrane you choose offers this feature, whether it is an embossed traction surface or is chemically enhanced to promote better traction. Roof work is dangerous and the potential to slip on a smooth polymer facer membrane should be taken into consideration when selecting a product.
Most codes will also address what types of underlayments can be used after sealing the deck seams. These include saturated felt, synthetic or self-adhering products. Although more economical, felts and synthetic underlayments offer limited waterproofing protection as compared to self-adhering underlayments. What is interesting to note is that even when using a self-adhering underlayment, the codes still require the use of a flashing tape on the deck panel seams.
p.p1 {margin: 0.0px 0.0px 0.0px 0.0px; line-height: 8.0px; font: 8.0px ‘Nimbus Sans’} span.s1 {font: 6.0px ‘Nimbus Sans Cond L’}
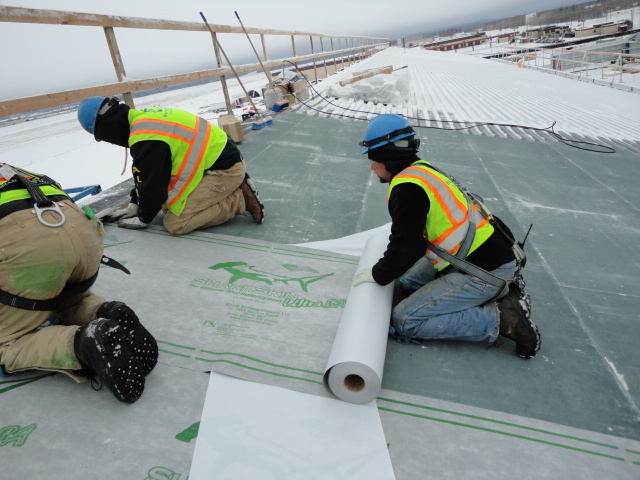
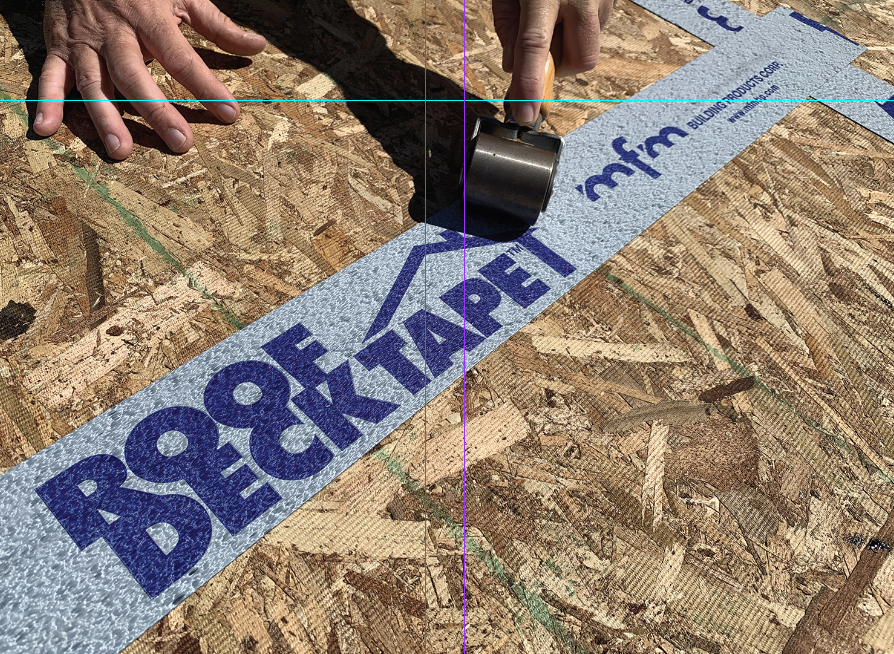
Roll the entire membrane thoroughly with a hand roller to ensure maximum contact of the adhesive system to the substrate. Photos courtesy of MFM Building Products
Best Practices for Sealing Deck Seams
As with most roofing projects, start at the eave and work towards the ridge. The same is true when sealing the seams on roof deck panels. Tools required for installation include a sharp utility knife, measuring tape, hand roller and any necessary safety equipment when working on a pitched roof.
Before using any self-adhering product, be sure to read and understand the manufacturer’s complete installation instructions. Most brands indicate a minimum installation temperature and maximum UV-exposure time. Depending on the manufacturer, some surfaces may require priming or there may be warnings about the types of caulks or sealants used in conjunction with the self-adhered membrane.
In general, when working with Roof Deck Tape, it is recommended to roll the entire membrane thoroughly with a hand roller. This ensures maximum contact of the adhesive system to the substrate. Always pay special attention to any overlaps when rolling the membrane. On long runs, you may need to overlap Roof Deck Tape to finish a section. On these end laps, the material should overlap by at least 4”-6” and rolled firmly.
This first step is optional and typically not needed. Start at the eave by inspecting the gap between the first course of roof deck panels and the facia board. If there is a noticeable gap, you will want to seal this area. Install half of the membrane onto the roof deck and balance onto the facia board. Roll firmly with a hand roller.
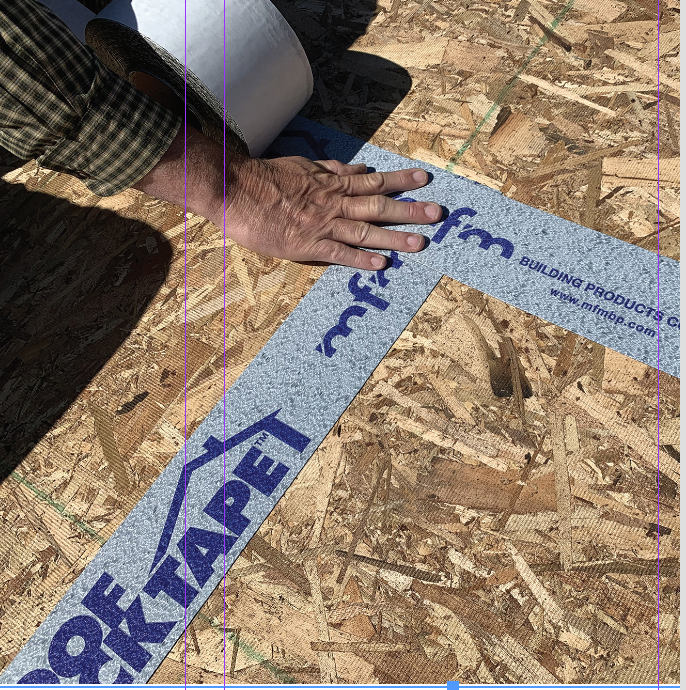
Work course by course following these same installation procedures for each roof deck section. Always seal the vertical seams first. Start at the top of the vertical seam. Be sure to center the membrane over the seam and start the membrane 1” to 1.5” above the start of this vertical seam. Remove the release liner and smooth the membrane into place with your hand. Roll firmly.
Finish all of the vertical seams first, then seal the long horizontal seam at the top of the first course. As you work across this horizontal seam, be sure that the membrane completely covers the ends of membrane installed on the vertical seam sections. If a portion of the vertical membrane extends above your horizontal membrane, this can create a potential leak point. Always roll all overlaps firmly.
The rest of the process is the same. Install the flashing membrane onto the vertical seams, then finish by sealing the horizontal seam above it. Once a course is completed, move up the roof to the next section. The vertical membranes should extend beyond the lower horizontal membrane by at least 2”. Again, this entire process is required to reduce the number of potential leak points across the decking surface.
At the ridge, do not install any flashing membrane across the ridge gap. This gap is required to let the roof breath and allows for needed ventilation. You can wrap the membrane into the gap or just start the membrane flush with the ridge gap.
This last step is also optional. Inspect the roof rake to ensure that there is not a gap between the roof deck and facia. If needed, you may flash this section as explained earlier when flashing the roof eave. This completes a proper installation of sealing the roof deck seams. Installation of the roofing underlayment can now begin.
General Summary
To most, it may seem like an unnecessary step to seal the roof deck seams. However, if it is a required code, you will want to follow the steps above to ensure the job is done right. If it is not required, it may be soon, or other builders may be adding this step as a selling feature to customers. All in all, it is just another step in the never-ending battle against Mother Nature.