By Joe Thompson, Certainteed
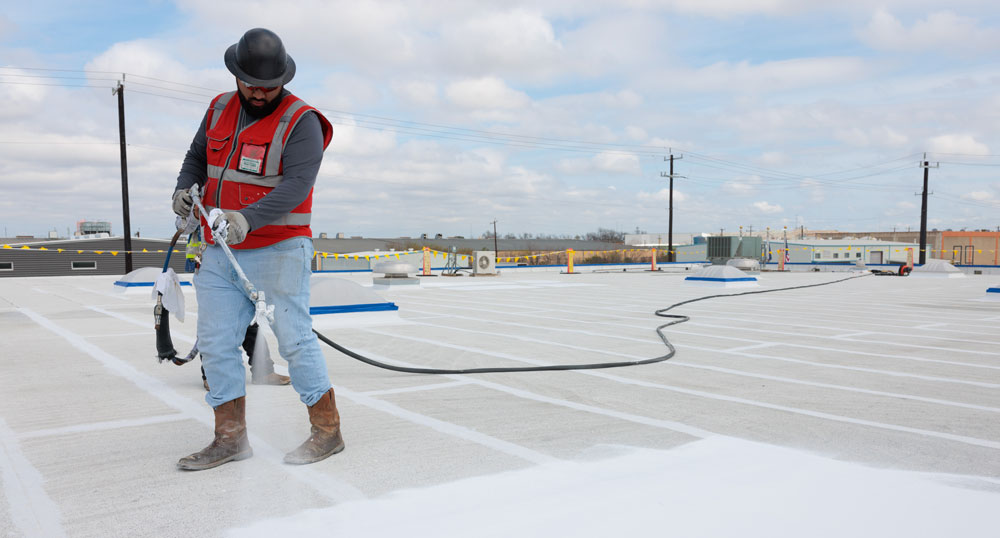
Roof leaks are a nuisance that can lead to property damage and lost workdays. Most flat roof leaks occur as the result of an improperly flashed penetration. One of the most important flashing details to master is a drain. That’s because a drain’s primary function is to collect water and divert it away from the roof system. Ensuring a drain is flashed properly and with precision will keep it watertight and prevent pooling or ponding in these areas.
Fortunately, this extremely important flashing detail can be secured against leaks if you follow these proven techniques. Read on for a step-by-step guide to flashing a drain on a rolled roofing system.

Steps to Flash a Drain
CertainTeed Flintlastic SA Cap, Flintlastic SA MidPly or Flintlastic SA PlyBase, FlintBond SBS Adhesive and FlintPrime Aerosol:
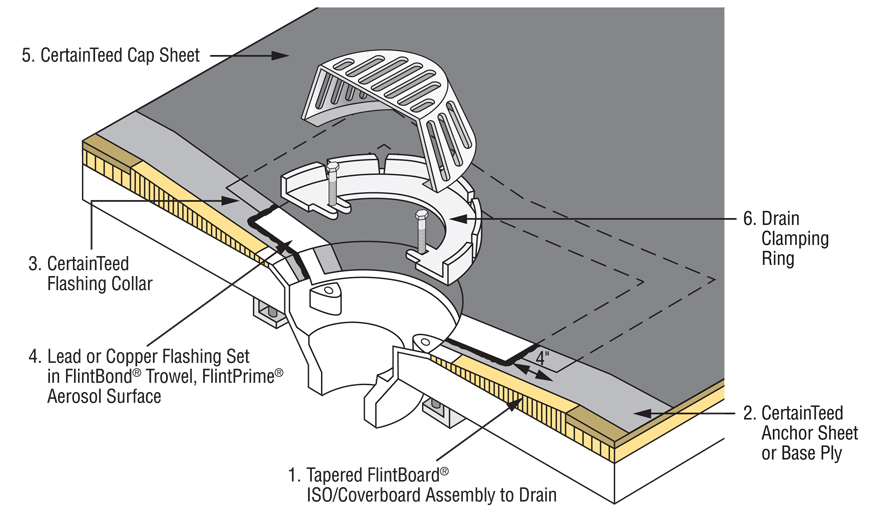
1. With any drain detail, you want to make sure you have positive slope from the field down into the drain. The FlintBoard Hinged Target Sump offers a quick, material-efficient way to achieve a positive slope.
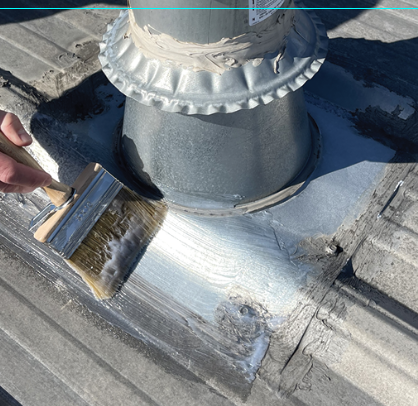
2. When working with self-adhered membranes, prime all metal surfaces. Apply FlintPrime Aerosol to the top surface of the drain, and let that flash off until it’s tacky to the touch- approximately 30 minutes. Tape off exposed bolts to avoid getting primer in the thread.
3. Position your base sheet and roll out over the drain. Allow the bolts to penetrate through the membrane before cutting out the drain access. Your base sheet should be positioned to avoid sidelaps running across the drain of either the base or the cap sheet.
4. The membrane should extend slightly over the drain edge. As with any self-adhered membrane, apply a weighted roller to remove any entrapped air.
5. Once your base sheet is in place, install a field-cut flashing collar of Flintlastic SA PlyBase or Flintlastic SA MidPly — sized to ultimately extend 4” beyond the lead on all sides.
6. Position the collar and press the bolts to the membrane before cutting out the drain access.
7. Position your lead centered on the flashing collar. Be sure to round the edges of both the flashing collar and the lead.
8. Use a mallet to define the bolt locations before cutting holes. Use the same technique to cut the drain access.
9. Now, set your lead in a 1/8” bed of FlintBond SBS-Modified Adhesive — Caulk or Trowel Grade. Set either to the back surface of the lead or onto the collar and apply pressure with a hand roller.
10. Apply FlintPrime Aerosol to the top surface of the lead, and again, let that flash off until it’s tacky to the touch — approximately 30 minutes.
11. Now you can install your cap sheet. Make sure you’re completely covering the drain bowl. You don’t want any sidelaps or endlaps in this detail. Just like the base sheet, the fastest way is to roll out your membrane, allow the bolts to come through, and cut out your opening.
12. Once you’ve fully waterproofed the drain bowl, install the clamping ring.
For a video by CertainTeed’s Joe Thompson that includes these step-by-step instructions, visit blog.certainteed.com and search for “Joe Knows.”