Snow retention is no longer an art, it has become a science. The laws of physics have to be used when holding back thousands of pounds of potentially damaging snow and ice. Annual property and personal damage is estimated in the millions, but what dollar amount can you place on a human life and what is the potential liability risk to homeowners and business owners who fail to address this problem?
Simply put, a quality snow guard product coupled with a reliable and safe spacing layout will help reduce the liability associated with the sudden release of snow and ice on metal roofs. Here is a brief overview of the most common problems we encounter when marketing snow retention systems and solutions on how to overcome them.
1. Product quality and testing:
There are literally hundreds of snow guard designs to choose from so it can get confusing. We have tested just about everything we can get our hands on, every possible way to attach them to the panels and every possible layout design to make them more reliable and efficient. Due to some very basic rules of physics, the most efficient designs for pad style snow guards are those with a 3-inch to 5-inch wide forward mounted flat face with solid support struts and base. The material should be 100 percent prime virgin grade polycarbonate that is UV stabilized. An alternative material is American Made 304 Stainless Steel. Round, pointed, angled and breakaway faces are not efficient at retaining snow, which is the whole purpose of a snow retention system.
When we are called upon to replace failed snow guard systems across the country, we find the most common guard used in the failed systems are cheap imports and imitations sold under various brand names here in the U.S. They are mass produced overseas and sold to distributors under different names with no regard for quality control, testing, proper layout or warranty. Regardless of where a guard is produced, it needs to be made of quality raw materials and should have published independent test results to back it up. Without the test results, there is no way to determine how strong the guards are and how many rows are required to control the snow load.
Solution: Invest in a quality product, made in the USA by a reputable company willing to provide independent test results and replace them if they fail. The only thing worse than having to buy a snow retention system is having to buy a second one to replace the first one. Ask for the test data and the warranty. In the snow guard business, the difference between the cheapest guard and a quality guard is only a few cents, so shop for the best value, not the cheapest price.
2. Layout:
The layout of the snow guards on the roof is the most critical element in the entire system. Remember: “If the guard is the heart of the system, then the layout is the backbone.” Therefore the best value is in the correctly designed guard installed with a professional lay- out. We often find that many companies are quoting far too few snow guards for jobs in order to be the lowest bidder for the contractor. The result is an inferior layout destined for failure and possible liability for the building owner. Some snow guard companies offer product and layout assistance, but they are not willing to offer long term warranties or may even charge extra if they do. Be sure to ask what the warranty is on the guards before you buy.
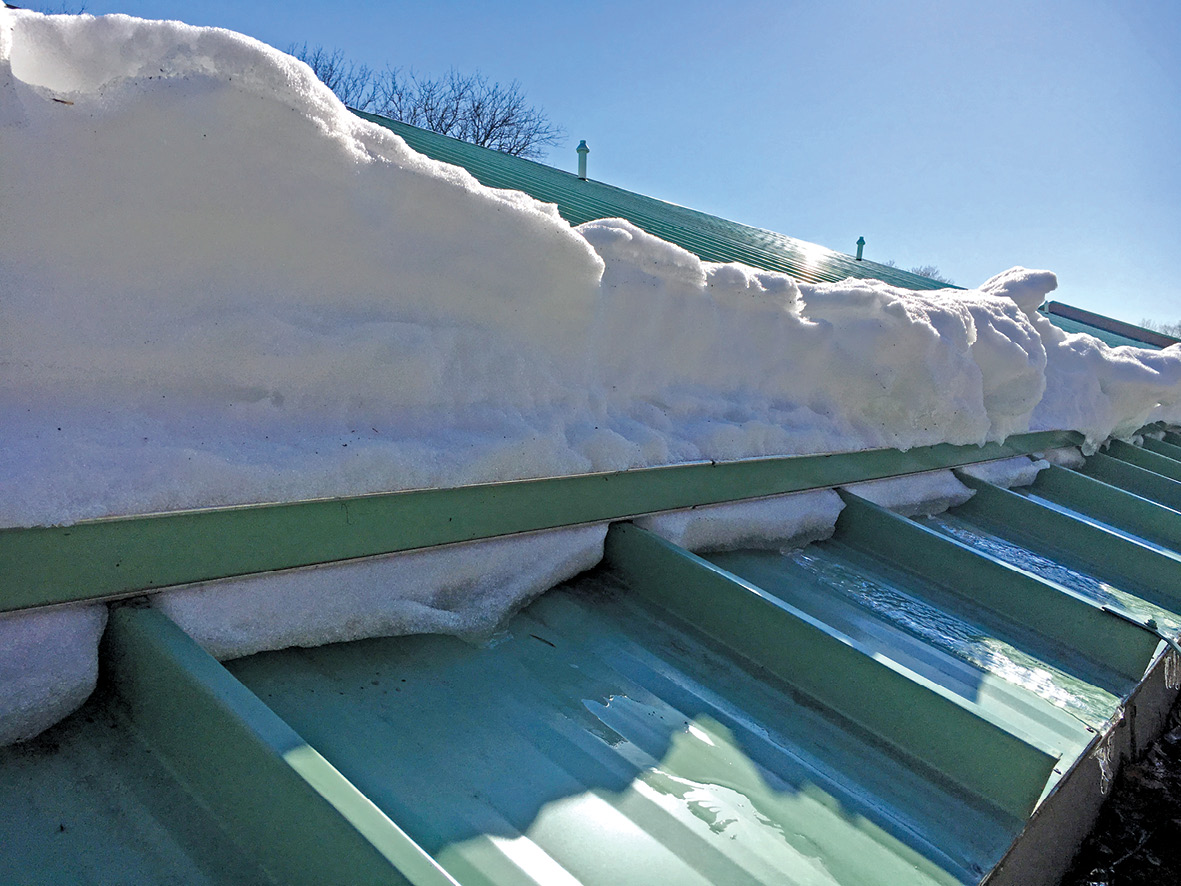
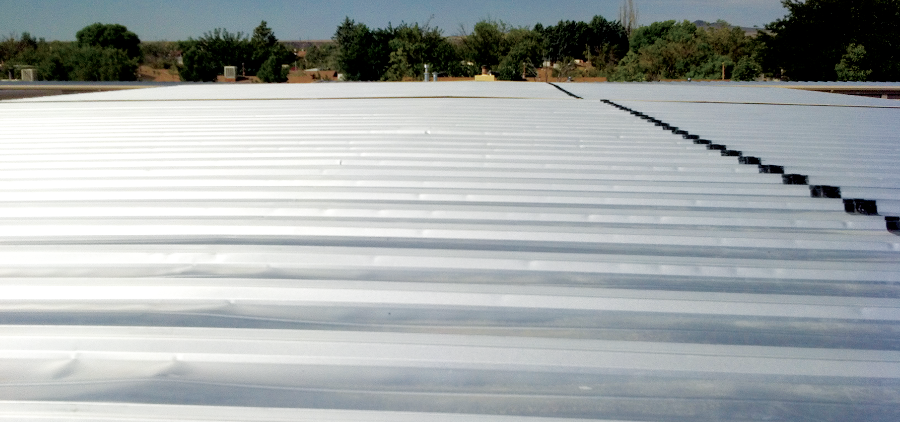
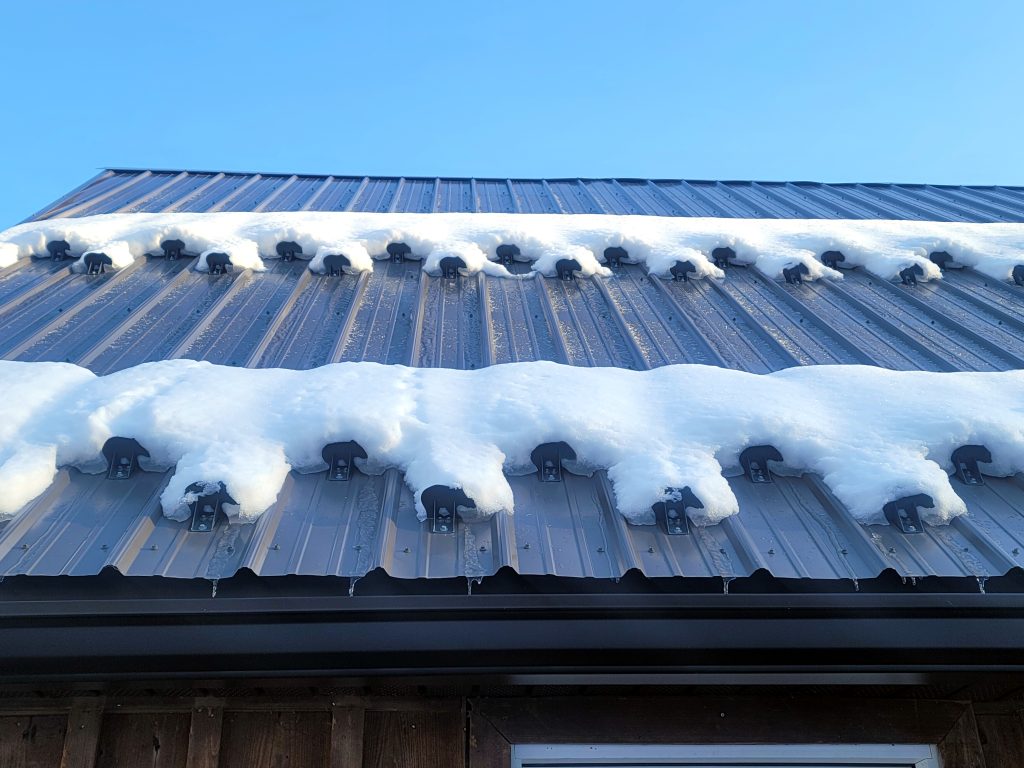
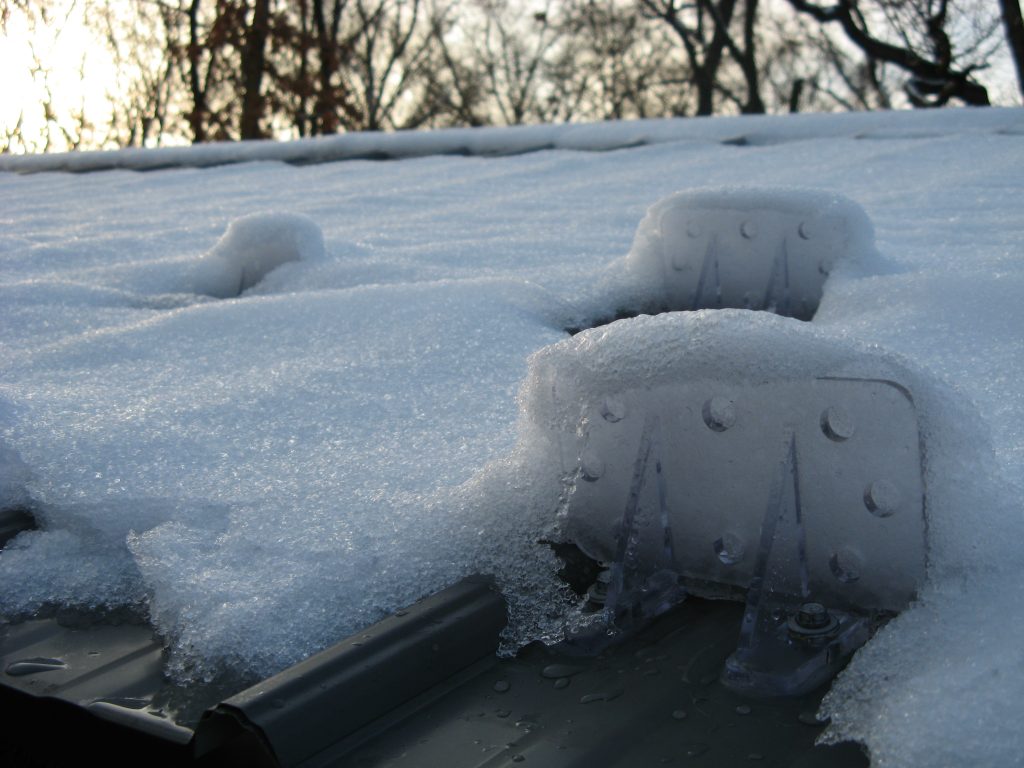
A reliable layout will have multiple staggered rows of guards, with each guard mounted in the center of the panel valley where the snow and ice actually moves. Guards should be designed to either mount on the flat of the panel or to straddle a minor or stiffening rib in order to get in the center of the valley. There are even some versatile guard designs with interchangeable bases to mount either way.
The most common layout mistake is to only mount a row down by the eaves and call it a day. While we drive around and see this same misapplication every day, you need to know the reasons why it is wrong. (1) It gives sliding snow and ice too much room to build up velocity and damage the guards. (2) It allows for too much load on the lower roof section near the eaves, causing unbalanced structural load.
A proper snow retention layout will equally distribute the snow load across the entire roof section, minimize the run velocity with multiple rows and break up large snow fields by utilizing staggered placement. When we design layouts, we avoid doing anything that might do structural damage to the roof or panel damage due to unbalanced loading. The row spacing is not something to estimate or guess at based on what your neighbor’s house has. It is determined by a number of factors including panel valley width, Ground Snow Load Rating, run length (peak to eaves distance), and pitch. This data is then matched with the strength rating of the product proposed for the project.
We have spent the last 35 years perfecting our layouts and were the first to offer the estimating software free to the public at www.SpacingTool.com. All that you need is your dimensions, pitch and ground snow load. A custom layout will be e-mailed to you showing the exact recommended placement and parts list needed for your project.
Solution: Invest in a quality product that is matched to your panels and take the time to verify your local ground snow load and pitch. Run a layout on SpacingTool.com and stick to the design. If you choose to use one of our products, you will have the assurance of a life- time warranty. Don’t take layout advice from anyone that isn’t willing to stand behind the design and replace what breaks. Ignore what your uncle, friend and neighbor did on their roof, trust the custom layout specifically designed for your roof and load factors. You’ll get to lay on the couch watching the game while they replace their gutters after the next big ice storm hits.
3. Seam Mounted Snow Guards:
As I said earlier, we have tested just about everything on the market for the past 35 years. We have seen a lot of unreliable designs, but the one that has perpetuated this is the seam mounted snow guard. I assume it has appeal due to its attachment simplicity, however it has some serious pitfalls. We replace seam mounted systems quite often and the seam damage left behind is stunning. This type of guard usually has set screws and mount directly to the high seam. Because the design puts the face on top of the seam, there is no possible way for the guards to stop the movement of snow and ice other than what is above the seam. Gravity keeps the majority of the snow load in the lowest part of the roof panel known as the valley which is located below the face of the seam mounted guard. This is also where the snow and ice actually moves.
The other glaring issue is the seam damage, as snow and ice impact the sides of the guard’s face, it tends to torque the guard back and forth. Because of the wide faces and narrow seam mount, there can be a lot of torque applied at the mount. This results in the guards being ripped from the seams leaving behind scratches, bent seams and possibly a voided roof warranty. These guards are usually made of cast aluminum rated in the 20,000- to 40,000-pound range, far stronger than even the heaviest standing seam. Therefore, if load is applied to only one side of the guard, the seam is often damaged from the resulting torque.
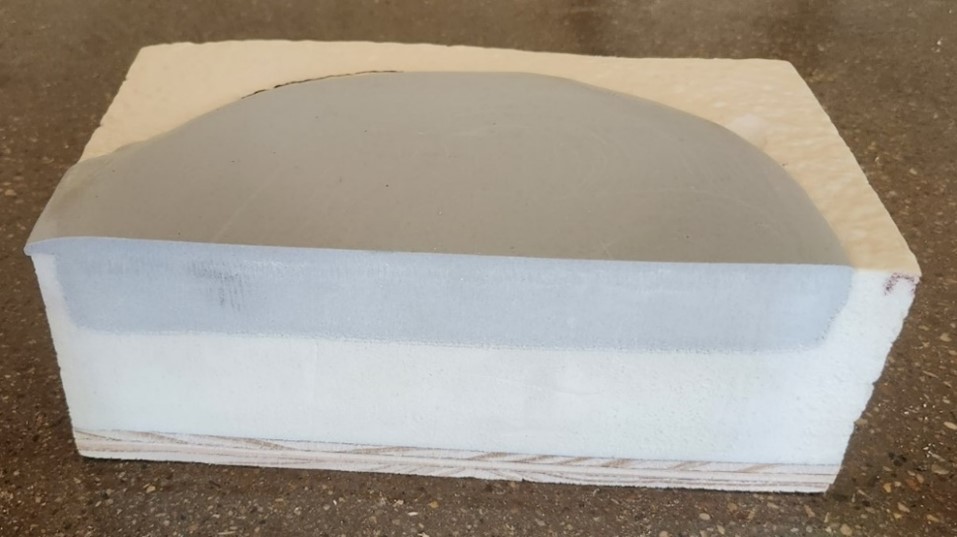
Solution: Avoid mounting any system to a standing seam that isn’t stabilized with bar and clamps at every seam. Use a bar system or adhesive mounted guards instead of individual seam mounted guards to protect the seams from damage. This distributes the impact force/load to all the seams, not just one.
4. Snow bar systems:
We are often called upon to replace or redesign bar systems that were swept off the roof with last year’s heavy snow. Once the gutters are back in place the next step is finding out what went wrong with the system.
There is no question that a properly designed bar system is extremely strong and reliable, but people will be people and they will cut corners out of sheer ignorance or budget concerns.
The first rule of snow retention is to equally distribute the load across the entire roof surface, not just hold it down by the eaves because it’s cheaper to do it that way. Bar systems fail mainly for two reasons, the first is having too few rows of bars. The second is not clamping every seam. There are designs that simply don’t perform as well as others, but let’s focus on actual failures.
Having too few rows of bars is generally caused by the installer or property owner not following the recommended bar layout. The bars can only hold so much load before they fail and come apart, multiple rows keep the snow and ice from building too much load/velocity as it slides. The second concern is that some bar systems only clamp every second or third seam in order to keep their system cost down. However, many warranties require that the system be clamped at every seam and some warranties even require inspections be performed by a manufacturer rep at an additional cost to the customer. In other words, the systems won’t work unless they are clamped at every seam and multiple rows are properly spaced up the roof section.
Solution:
Only use a reputable bar manufacturer that provides layout and offers a free lifetime warranty on the parts and finish. You shouldn’t have to pay extra for a product warranty to get it to work properly. Insist on using only square bar or flat extruded designs clamped at every seam; round bar has a tendency to allow the snow and ice to go through the bar. Also be sure that the ice stoppers mount perpendicular to the roof panel, angled models will cause snow to “ramp” up and over the clip thereby defeating the purpose.
Follow the layout and check the clamp torque annually. A properly designed bar system will outlast the roof and whatever Mother Nature throws your way. l
Howie Scarboro is the national sales manager for SnoBlox-SnoJax. The company patented the first polycarbonate snow guard in 1976.